
 69868
69868
In this guide, you’ll be able to start using NZBGet with your new subscription.
You’ll find the latest version of NZBGet available from their website.
We strongly recommend using a stable release of the client.
Install the client, changing any directory settings desired.
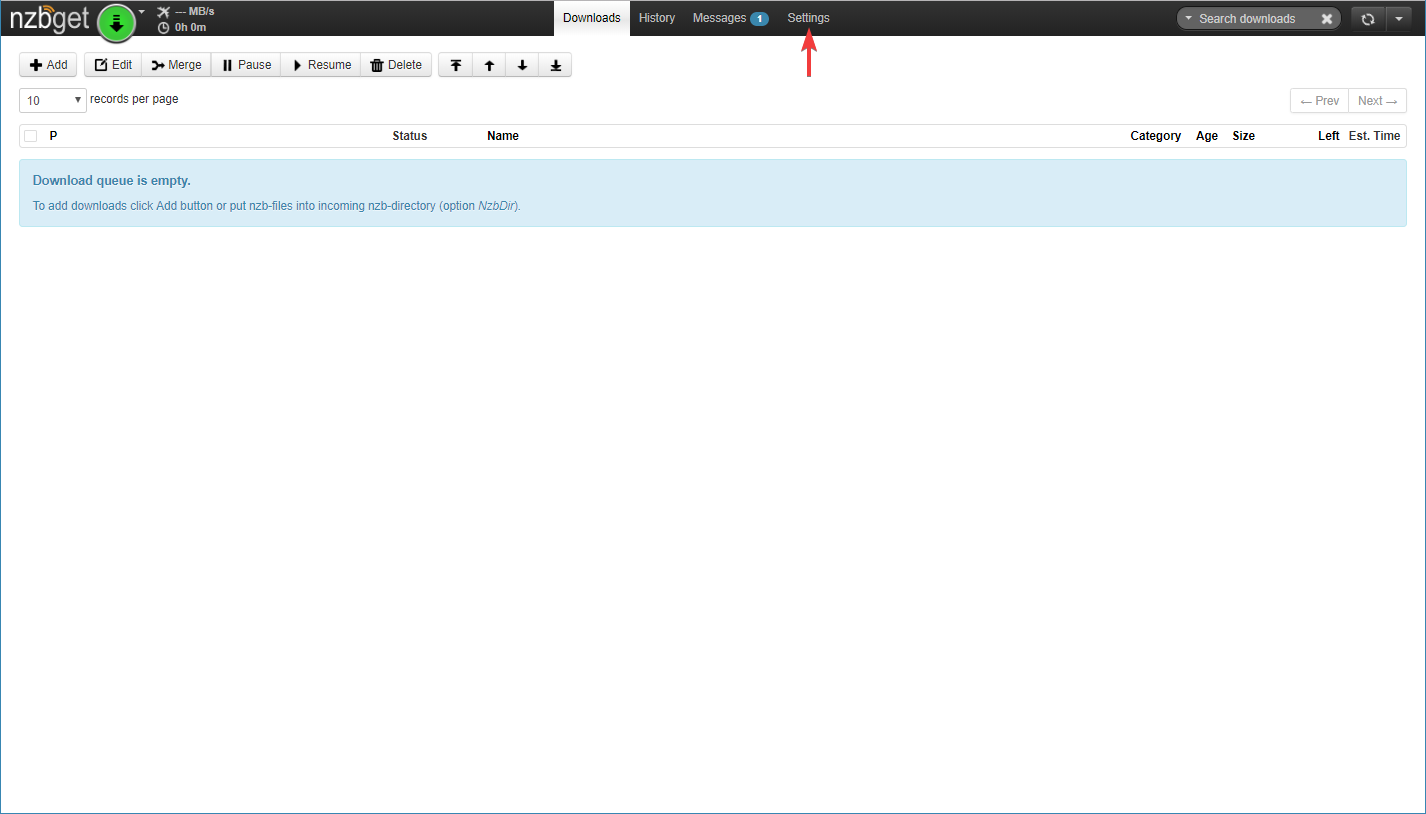
From the start page, select Settings from the top.
Select the "News-Servers" option from the side menu.
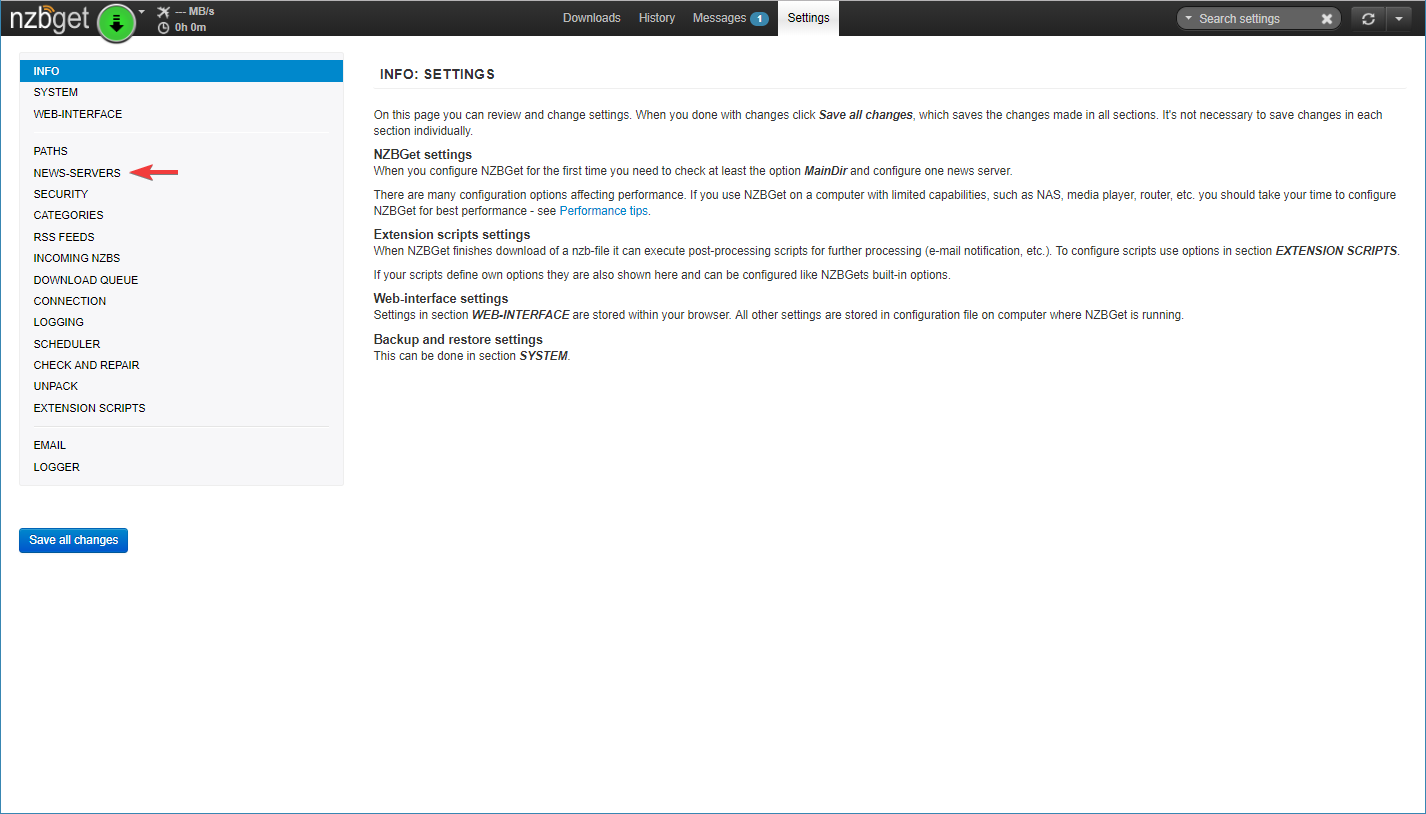
If you’re using a new install, you’ll see a temporary server made. We’ll replace information from this page to connect. If you’re adding our server alongside another or have deleted the previous servers, you’ll need to select “Add Server” from the bottom of the list.
Active: Yes
Name: The name the server will show in the server list and error reporting. We recommend a simple name.
Optional: No
Group: 0 (If you plan to have groupings with other servers, enter its group number here.)
Host: The hostname received in the confirmation email
Port: For SSL, enter 563. For Non-SSL, enter 119. If you have another port you’d like to use, enter it here.
Username: Your username received in the confirmation email
Password: Your password received in the confirmation email
JoinGroup: No
Encryption: If you are using SSL, select “Yes”. If you are not using SSL, select “No”.
Cypher: Leave this option blank.
Connections: You’ll enter the amount of connections offered here from the confirmation email. If you aren’t sure, we’d recommend starting with 20.
Retention: Use this to filter out posts that are older than the set date. This can help to speed up searches and find the newest content available. Leaving this field blank will allow for maximum retention.
IpVersion: Leave the option set to “Auto”.
Notes: An area to store any notes you’d like to keep about the account.
Press the “Test Server” button and make sure the “Connection Successful” text appears.
Should you see an error code, double check the information entered for any errors. Should the issue persist, you can reach out to our Support Team, with the error code provided, for further assistance.

Select “Save Changes” to finalize the settings, and verify the server is checked under “Active”.
You’re set to begin using the service!

